How to Remove a TikTok Filter: 2025 Editing Insights

Imagine a world saturated with captivating video content, each jostling for the spotlight. Your tool for standing out? The in-demand app TikTok is renowned for its myriad filters that can transform a simple video into an aesthetic masterpiece with just a tap. But, with the evolution of content creation and bespoke styles in the year 2025 comes the need for mastering the art of minimalism and authenticity. Herein lies the importance of understanding how to remove a TikTok filter.
In a sea of content lined with an album of TikTok filters, learning how to “unfiltered” your content and showcasing it in its purest form enhances your authentic engagement. As we delve into “2025 editing insights” and observe trends set by influential TikTok creators, it’s clear that enhancing your inherent video quality and knowing when to remove a filter can improve the authenticity and relatability of your content.
Let’s take a journey together through the various facets of TikTok’s editing interface, the step-by-step process of removing filters from freshly brewed and existing videos, and a final dip into unexpected editing insights. A sneak peek into what’s coming up:
| Section | Stratagem |
|---|---|
| Accessing TikTok’s Interface | Discover the hidden nooks and corners of TikTok’s creative studio on your device. |
| Removing Filter from a New Video | Learn the step-by-step process of discreetly removing or switching filters during video creation. |
| Removing Filter from an Existing Video | Understand the method of eliminating filters from published videos and saved drafts. |
| Advanced TikTok Editing Insights | Learn how to create engaging content without defaulting to filters
|
Table of Contents
- 1 Accessing TikTok’s Editing Interface
- 2 Removing a TikTok Filter from a New Video
- 3 Removing a TikTok Filter from an Existing Video
- 4 Advanced TikTok Editing Insights
- 5 BONUS
- 6 Frequently Asked Questions
- 6.1 Can you change or remove a TikTok filter after posting the video?
- 6.2 How can you stand out with your TikTok filters?
- 6.3 What can you do if you’re not satisfied with the filter choices for a new video?
- 6.4 Can you use filters from third-party apps on TikTok?
- 6.5 Why is it essential to learn filter removal in TikTok’s 2025 editing interface?
Accessing TikTok’s Editing Interface
After demystifying the concept of “How to Remove a TikTok Filter: 2025 Editing Insights”, we move to the keystone of this process: TikTok’s intuitive Editing Interface. Regardless of the device you’re on, TikTok’s editing interface is the birthplace of creativity, filled with a myriad of possibilities.
Have you ever felt like you’re chasing your tail when trying to access TikTok’s interface on various devices? Let’s break this maze and help you navigate through the editing interface like a pro.
1. Locating the Editing Interface on iOS Devices
The interface on an iPhone or iPad is as user-friendly as it can get. Tap the ‘+’ button cocked at the lower end of your TikTok home screen. Voila! You’re in the midst of your editing buzz, ready to weave your creative magic.
2. Accessing the Editing Interface on Android Devices
The process on an Android device mirrors that of an iOS device. The ‘+’ button is your magical portal into the world of TikTok creations.
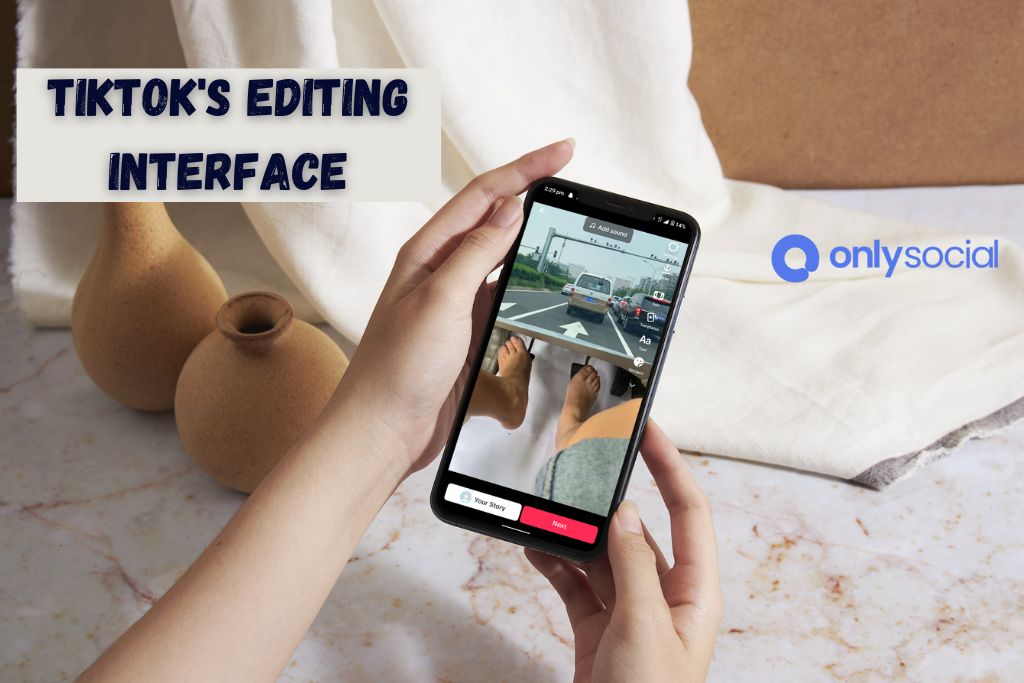
Understanding the TikTok Editing Interface
Now that you’ve found your way into the TikTok editing interface, it’s time to understand the tools laid before you. From filters to timers, stickers to voice effects, your TikTok video is a blank canvas, and the editing interface is your eclectic palette. However, the star of the day is our ‘Filters’ section, an avenue that assists us in adding and learning how to remove a TikTok filter from the content.
Layout of the Interface for Filter Selection and Removal:
| Section | Utility |
|---|---|
| Effects | Enables applying real-time effects during recording |
| Filters | Adjusts the color profile of your entire video |
| Beauty | To tweak features like Skin Smoothness and Face reshaping |
| Green/Blue Screen | Allows you to change your background to any desired image/video |
| Reverse/Slowmo | Edit the pace and order of your recorded clips |
| Flip/Rotate | Adjusts the video’s viewing angle |
Remember, each tool in your TikTok editing interface holds immense creative potential. But understanding when and how to utilize them is crucial. We zero in on the ‘Filters’ section in the upcoming segment as we voyage on to the steps of dealing with a new video’s filter stage.
Removing a TikTok Filter from a New Video
Once you’ve familiarised yourself with the methods of finding TikTok’s editing interface, the journey to understanding how to remove a TikTok filter becomes smoother—removing filters from a new video while in the creation process is a valuable skill to have. It provides you a chance to adapt your content to the latest trends or merely undo a filter choice. Let’s look at a step-by-step guide on how to accomplish this.
Step-by-Step Guide
1. Accessing Filters During Recording
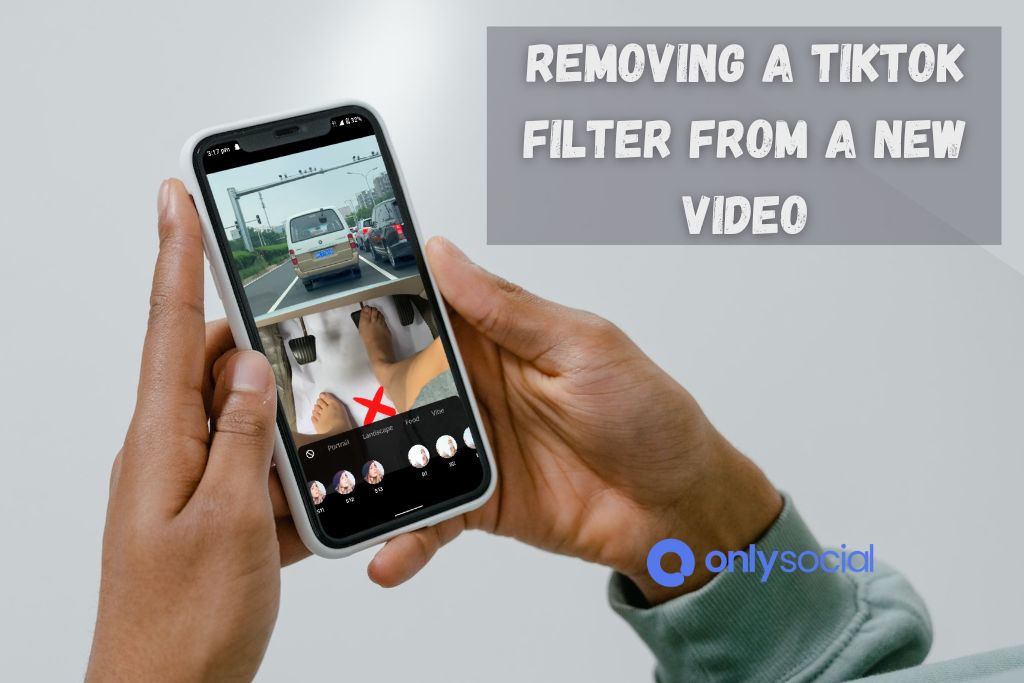
When you initiate a new video creation by tapping on the ‘+’ button, your recording screen opens up. At the bottom of your screen, there’s a carousel of features. Tap ‘Filters’ to access your list of filters.
2. Previewing and Choosing Filters
Upon tapping ‘Filters,’ you’ll see a wide array of filters to select from. Swipe left or right on the filter carousel to preview different filters on your recording window in real-time.
3. Removing or Changing Filter Before Posting
To remove a TikTok filter, merely click on the filter that’s currently applied (the one highlighted in the carousel). The video will revert to its original, unfiltered state. You can then choose to apply a different filter or proceed with no filter.
Explore Various Filter Categories and Return to the Original
The Filters menu features several categories like Portrait, Landscape, Food, Vibes, and more. Each category has its unique charm and range of filters. However, if you decide to retain the original look of your video, deselect any selected filter. This will remove the filter and bring your video back to its original, unfiltered form.
Use this table as a quick guide for the process:
| Action | Process |
|---|---|
| Start | Tap on the ‘+’ button to open the recording screen |
| Access | Tap on ‘Filters’ in the bottom carousel |
| Preview | Swipe left or right to browse |
| Select | Tap to apply a filter |
| Remove | Tap on an applied filter to return to the original form |
| Change | Tap on another filter to switch |
| Post | Proceed with posting your video (unfiltered or with a newly selected filter) |
Mastering filter removal during the creation of a new video allows you more control over your recording process. It helps you adapt swiftly to keep your content fresh, engaging, and aligned with your brand’s aesthetic.
Removing a TikTok Filter from an Existing Video
As we become more proficient with our understanding of How to Remove a TikTok Filter 2025 Editing Insights, it’s only natural that the scope of our learning expands. After mastering filter removal from a new video, we now turn our attention to removing filters from an existing TikTok video.
The Truth About Removing Filters From an Uploaded Video
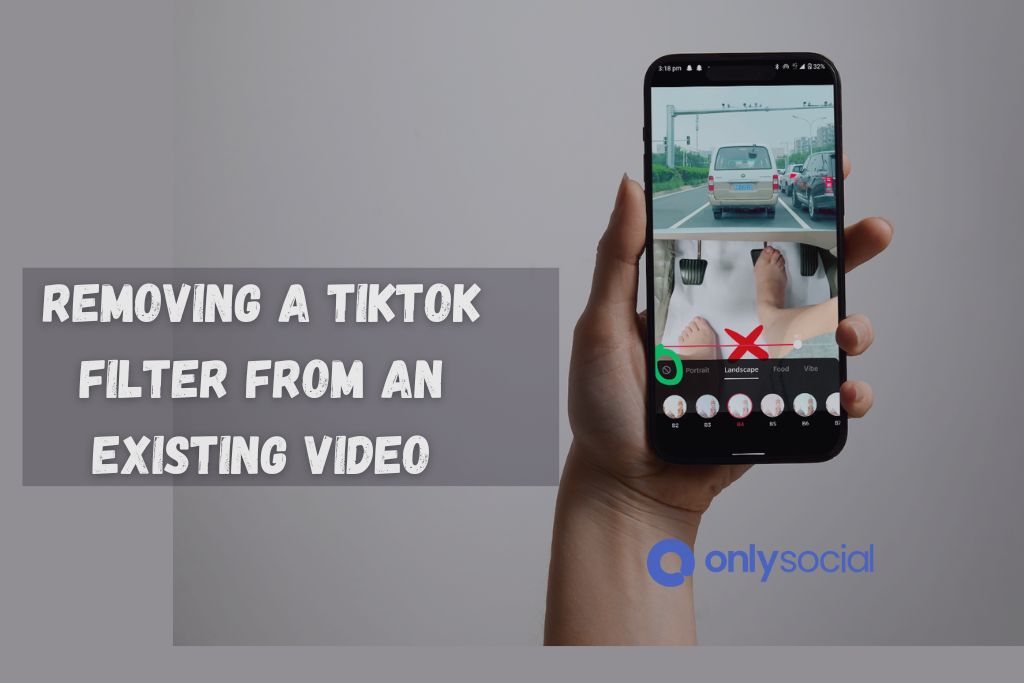
TikTok currently does not provide an option for users to change or remove filters from a video after it has been posted. Once a TikTok video with a filter has been posted, that filter becomes a permanent part of the video and cannot be removed or changed.
While this might seem like a limitation, it can be viewed as an opportunity to be genuinely selective and thoughtful about your filter choices while creating your video. It also underlines the importance of comprehending the knowledge imparted in our previous sections.
Alternative Approach: Reposting
In case you are truly unhappy with a filter applied to an already posted video, there’s an alternative option you might consider.
- First, you would have to delete the existing video with the filter (Profile -> Select the video -> Three dots at the bottom right -> Delete).
- Next, you can repost the video with the new filter selection. (Create a New Video -> Add from Camera roll -> Select the same unfiltered video -> Apply new filter).
While this option might not be ideal if your video has already garnered views, likes, and comments, it’s a valuable alternative when you’re relatively early in the life-cycle of a TikTok video.
Here’s an encapsulating table:
| Video State | Filter Removal Option |
|---|---|
| New Video | Directly remove the selected filter during the creation process |
| Already Posted Video | Filters cannot be removed. Alternative: Delete and repost the video |
One endearing aspect of the TikTok platform is the continuous evolution of its features. It’s not implausible that we might see a feature in the future allowing users to change or remove filters after posting their videos. For now, it’s a mindful journey of careful selections and thoughtful creativity!
Advanced TikTok Editing Insights
With our firm command over How to Remove a TikTok Filter: 2025 Editing Insights, it’s time to explore the seamless galaxy of TikTok editing features that can elevate your video content to the zenith. These advanced editing techniques can become your secret weapons to create show-stopping TikToks. Unleash your creativity and put these newfound skills to work!
Custom Filters and Effects
Experience a world of boundless creativity by creating your custom filters and effects.
- AR Developer Platform: The AR developer platform provides tools such as the TikTok Effect Studio to manipulate elements in real-time and create personalized filters and effects.
- Third-party Apps: Apps like Snapseed, VSCO, and Facetune provide a plethora of options to design and sculpt unique filters and import them into your TikTok videos. For tips on the importing process, check our earlier sections.
By combining custom effects with the filter removal techniques you’ve learned, you’re sure to take your content to new heights.
Text and Stickers Overlays
While TikTok provides an extensive library of text and stickers, you can now incorporate an extra layer of personalization by using custom overlays. Create custom text, stickers, gifs, and more using design software like Adobe Photoshop or free tools like Canva. Save these as PNG images and import them onto your video using video-editing software or mobile applications like Adobe Premiere Rush.
Layered Sound Effects
Adjust the tonal dynamics of your video by layering sound effects and background tunes. TikTok’s sound library comes equipped with a wide range of effects, and importing them is a breeze. Additionally, you can source royalty-free music and sound effects from websites like YouTube Audio Library or SoundCloud and blend these into your TikTok videos using editing software like iMovie, Adobe Premiere, Final Cut, or mobile apps like InShot or VideoLeap.
| Advanced Editing Insights | Key Themes |
|---|---|
| Custom Filters and Effects | Use TikTok Effect Studio or third-party apps |
| Text and Sticker Overlays | Create with design software, apply through video-editing software |
| Layered Sound Effects | TikTok library or other online sources, edit with video-editing software/apps. |
In conclusion, the TikTok editing universe continually expands with fresh, ground-breaking functions. By skillfully applying these advanced techniques, you can elevate your TikTok content to a whole new dimension of personalized creativity.
BONUS
While mastering TikTok filters is a crucial skill for any social media enthusiast, equally important is the strategic planning and scheduling of your content. That’s where OnlySocial comes into play. Our Post Planning and Scheduling tool is a one-stop solution for managing your social media presence across various networks. With the ability to handle unlimited posts and manage numerous social profiles, OnlySocial streamlines your content strategy, ensuring your posts make the biggest impact. Embrace the efficiency of scheduling your content in advance, and watch your online presence grow. Ready to transform your social media strategy? Try OnlySocial now with a commitment-free 7-day trial today.
Frequently Asked Questions
With the continuous evolution of the TikTok platform, users often have many questions. Hence, as part of our discussion on How to Remove a TikTok Filter: 2025 Editing Insights, let’s address some of the most commonly asked questions.
Can you change or remove a TikTok filter after posting the video?
No, TikTok currently doesn’t allow users to change or remove a filter from a video once it has been posted. As a workaround, you can delete the video and reupload it with your desired filter adjustments.
How can you stand out with your TikTok filters?
Customizing filters using AR developer tools or third-party apps, as well as employing text and sticker overlays or layered sound effects, provide advanced editing capabilities that can help your TikTok videos stand out.
What can you do if you’re not satisfied with the filter choices for a new video?
While creating a new TikTok video, you have the liberty to preview and remove filters before posting. Please tap on the filter currently in use to remove it and return the video to its original, unfiltered state.
Can you use filters from third-party apps on TikTok?
Yes, you can create or modify filters using third-party apps, save the filtered video to your camera roll, and then upload the video to TikTok.
Why is it essential to learn filter removal in TikTok’s 2025 editing interface?
The constant evolution of TikTok’s editing interface prompts users to stay updated with the latest features, including filter application and removal. Learning these skills allows for better control over the video creation process and adaptation to the ever-changing aesthetics of the platform.
These are just a handful of the many frequently asked questions. There’s so much more to discover and learn in the fascinating world of TikTok video editing!


