How to Schedule Instagram Carousel – A Complete Guide!
You can schedule Instagram carousel without stress.
Looking to tell a complete story in a single post? Instagram’s carousel feature is just what you need!
In the fast-paced world of social media, Instagram carousels offer a unique way to share multiple images and videos in one engaging post. They’re not only eye-catching but also perfect for crafting a narrative that sticks with your audience.
But let’s face it – keeping up with a consistent posting schedule can be a challenge. That’s where scheduling Instagram carousel posts comes in, helping you save time and manage your content more effectively.
This guide will show you the different methods you can employ to schedule Instagram carousel easily. Just keep reading!
Table of Contents
- 1 What Are Carousels On Instagram?
- 2 What Are Instagram’s Carousel Image Specifications?
- 3 How to Schedule Instagram Carousel – 3 Working Methods
- 4 Can You Make Changes to a Scheduled Instagram Carousel?
- 5 But Why Schedule Instagram Carousels?
- 6 Tips to Make Your Carousel Posts More Engaging
- 7 Questions from Instagram Users
- 8 Final Note
What Are Carousels On Instagram?
You definitely must have seen this many times on Instagram. You just probably did not know what it’s called or how to create one for yourself.
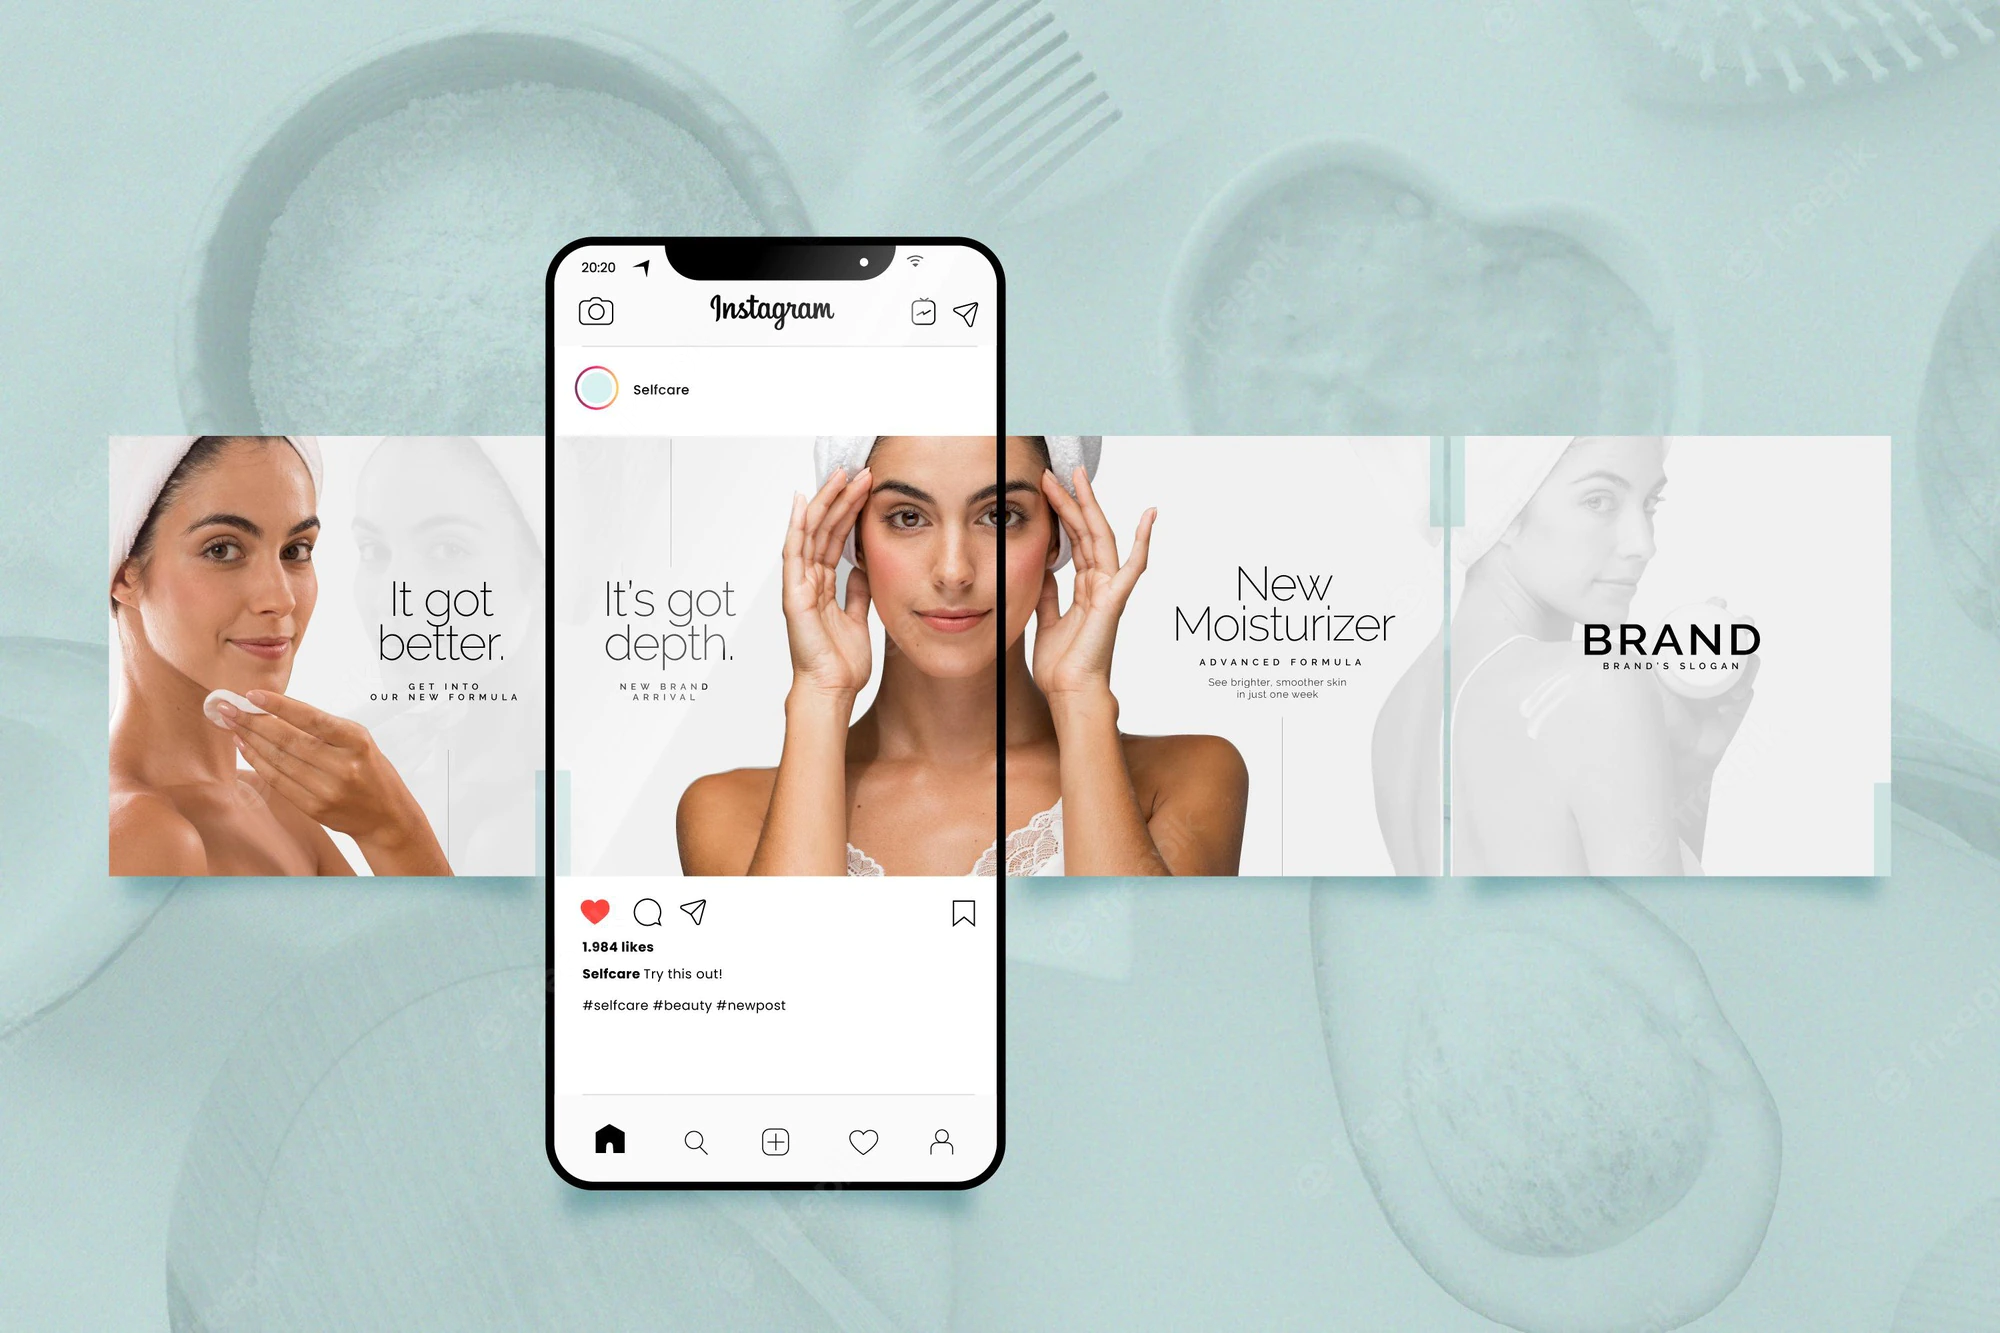
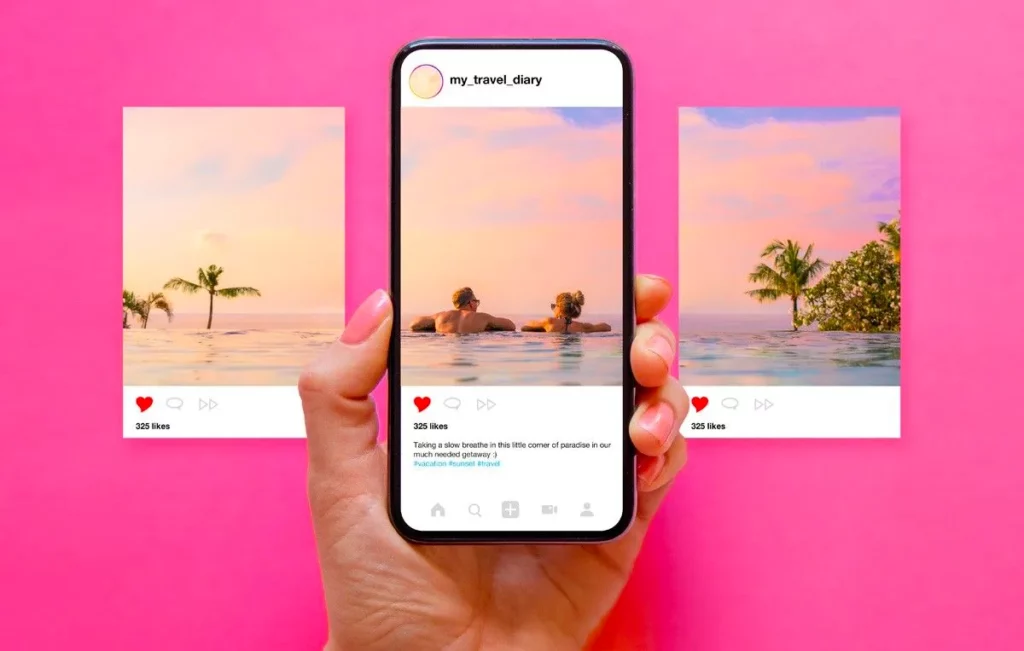
Instagram carousel is a feature that allows users to share up to 10 photos or videos in a single post, creating a swipeable gallery that can be viewed by their followers.
This feature is perfect for those who want to tell a story, showcase multiple products, or share a sequence of images without overwhelming their followers with multiple posts.
The benefits of using carousels on Instagram are numerous. They increase engagement by encouraging users to swipe through your content, giving you more opportunities to capture their attention.
Apart from that, carousels also offer flexibility in content presentation. This allows you to mix and match images and videos to create a more dynamic and compelling narrative.
What Are Instagram’s Carousel Image Specifications?
To ensure your Instagram carousel posts are visually appealing and display perfectly on the platform, it’s important to adhere to specific image and video specifications.
So, before we show you how to schedule Instagram carousel, let’s first talk about this.
Instagram supports three aspect ratio options for carousel posts: Square (1:1), Horizontal (1.91:1), and Vertical (4:5).
For images, Instagram recommends a resolution of 1080 x 1080 pixels to ensure your content looks crisp and clear.
For videos, the minimum resolution should be 600 x 600 pixels, with the maximum being 1080 x 1080 pixels.
It’s important you bear these specifications in mind when creating your carousel on the platform. That way, you can create engaging carousel posts that stand out and provide a high-quality viewing experience for your audience.
How to Schedule Instagram Carousel – 3 Working Methods
To keep your Instagram content flowing smoothly, you have a few different options for scheduling carousel posts.
You can use the Instagram app, Meta Business Suite, or a third-party scheduler. Each of these methods comes with its own set of benefits and drawbacks, depending on your needs.
Now, let’s get into how you can use each of these methods to schedule Instagram carousels effectively.
Method 1: Scheduling Instagram Carousel Using the Instagram App
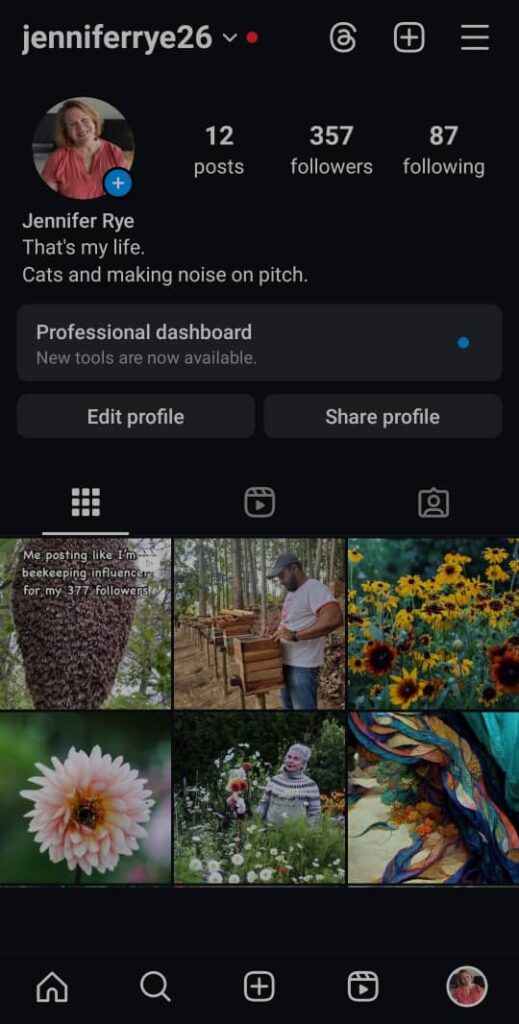
Access Your Profile
Open the Instagram app and navigate to your profile page. Look for the “+” icon on the top right, next to the “@” sign, to start creating a post.
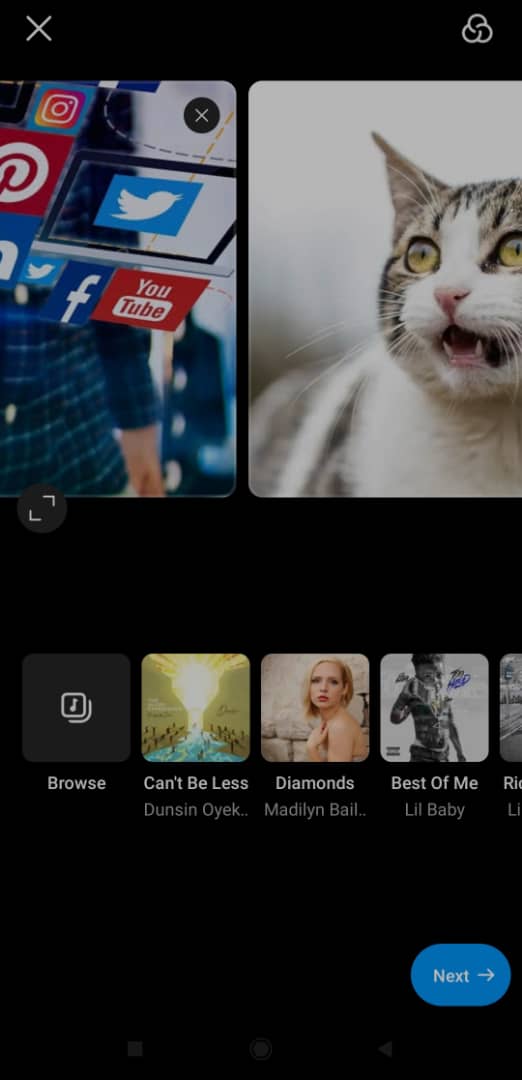
Select Your Images
Choose the photos or videos you want to include in your carousel post. Since it’s a carousel you are creating, you can select multiple images to showcase in one go.
Craft Your Caption
A good caption is the cherry on top of your carousel post. Write a captivating caption that complements your carousel post. Make sure it’s engaging and relevant to the content you’re sharing.
Remember to include relevant hashtags and location to enhance the visibility of your carousel post.
Advanced Settings
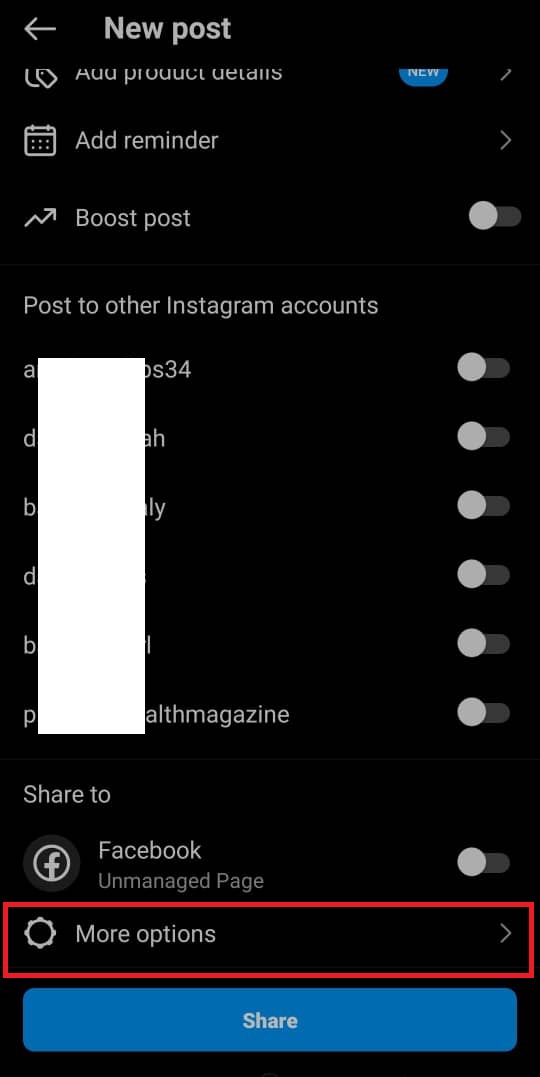
Once your post is ready, scroll down to the bottom of the page. You’ll find several options like adding location, tagging people, or boosting your post. Keep scrolling until you reach “Advanced settings.”
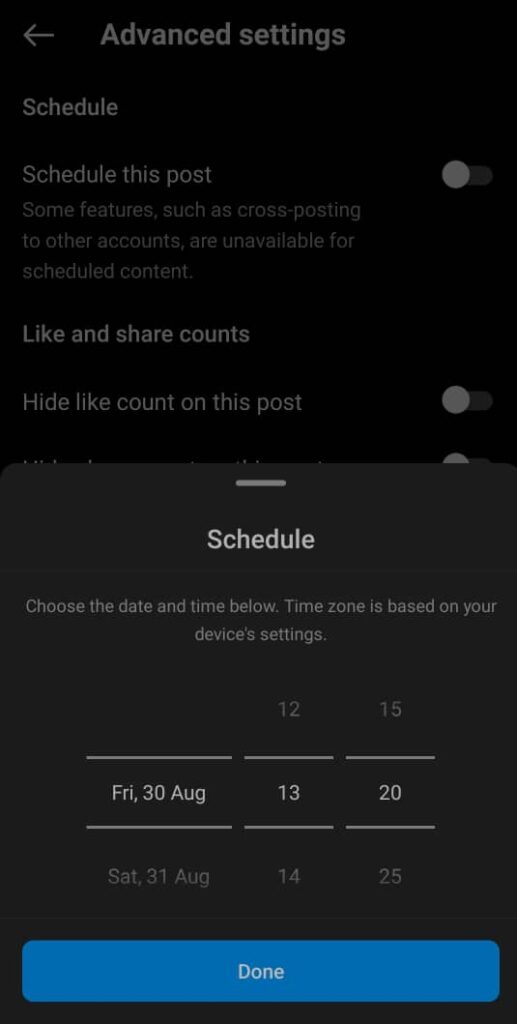
Schedule Your Post
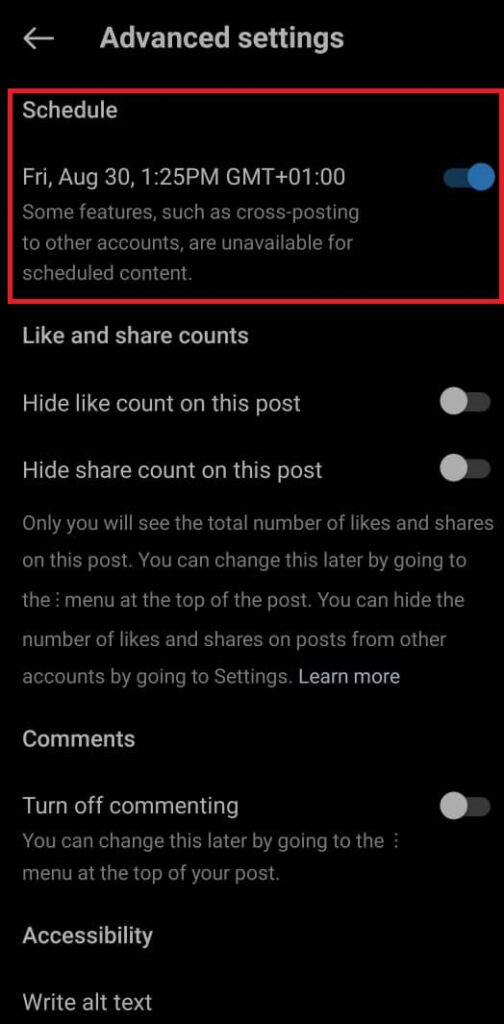
In the Advanced settings, you’ll see an option labeled “Schedule this post.” Click on it, and a pop-up window will appear where you can set the date and time for your post to go live. Select your preferred schedule, then click “Done” to finalize.
Your Instagram carousel is now scheduled and will be posted automatically at your chosen time.
Method 2: Scheduling Instagram carousel using Meta business suite
Just like the native scheduler in the Instagram app, you can also use Meta Business Suite to schedule your carousel posts. Here’s how:
Open Meta Business Suite
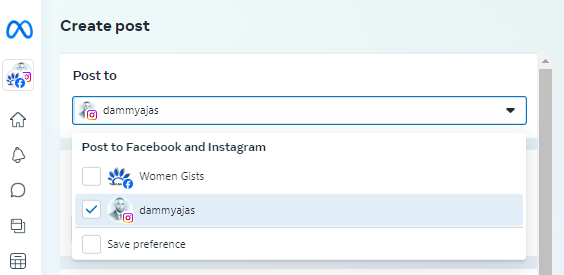
Start by logging into the Meta Business Suite. On the dashboard, you’ll see an option labeled “Create Post” right below your profile display. Click on it to begin.
Next, choose the Instagram page to which you want to schedule your carousel.
Add Your Content
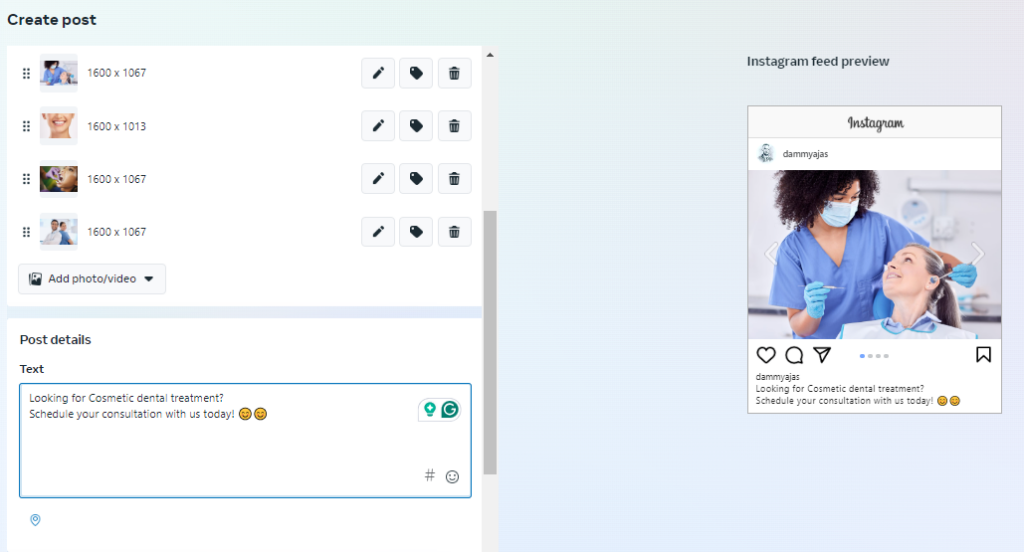
A pop-up window will appear, allowing you to add images, text, or tags. Since you’re creating a carousel post, you can upload multiple images or videos simultaneously.
Set Scheduling Options
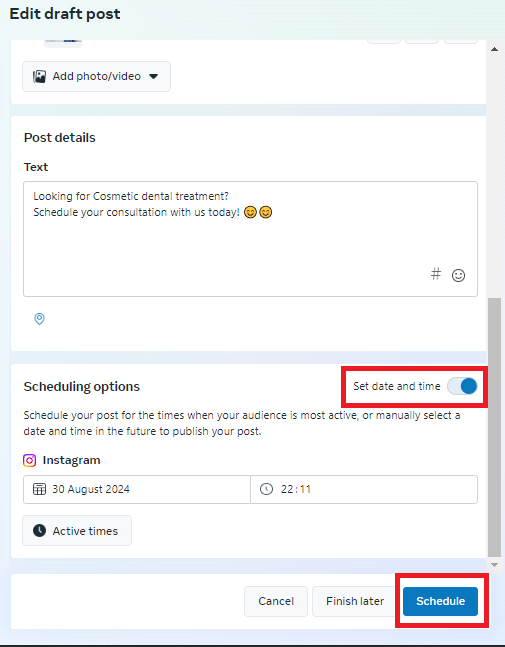
Once you’ve added all the necessary details, scroll down to find the “Scheduling options.” To the right of this, you’ll see the option to ‘Set date and time.’
Schedule Your Post
Click on the “Set date and time” option, and a new pop-up window will appear. Here, you can choose the exact date and time you want your carousel post to be published.
After setting your desired schedule, click on the “Schedule” button, and your post will be queued up to go live at the selected time.
Your Instagram carousel is now set to go live at the time you’ve chosen, ensuring your content reaches your audience at the optimal moment.
Method 3: Schedule Instagram Carousel with OnlySocial
If you’re seeking a more user-friendly and flexible option to schedule your Instagram Carousel posts, OnlySocial is an excellent choice. Here’s how you can easily get it done:
Step 1: Connect Your Instagram Profile to OnlySocial
Start by logging into your OnlySocial account. If you’re new to the platform, signing up is quick and straightforward.
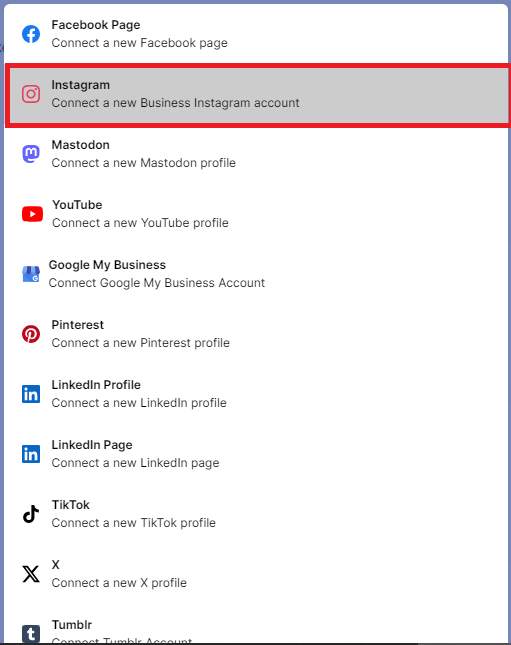
Once logged in, you’ll need to connect your Instagram Business account to OnlySocial, allowing you to manage and schedule your posts seamlessly.
To do this, navigate to the ‘Accounts’ section on the left side of your dashboard, click on ‘Instagram,’ and follow the prompts to link your account.
Step 2: Create Your Post
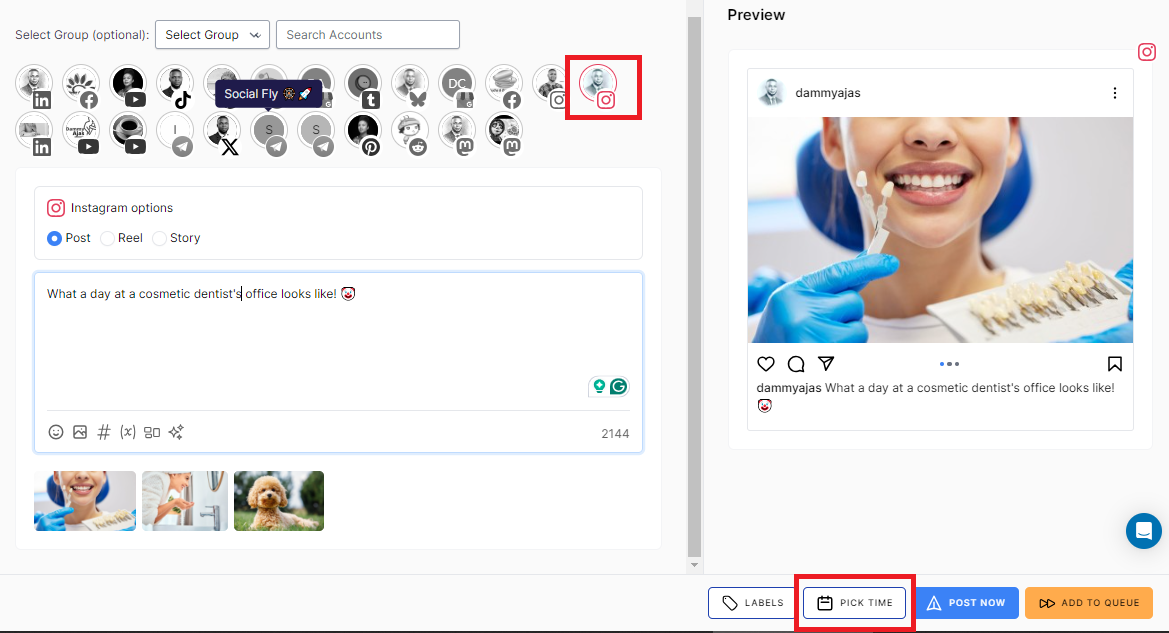
With your Instagram account connected, it’s time to create your carousel post. Click on the ‘Create Post’ button in the sidebar.
Now, select the Instagram account you just added – that’s where your carousel will be scheduled to. If you have added multiple accounts to OnlySocial, you can select one or more to post to at once.
Now, use the media icon at the bottom of the text field on the page to add all your images or videos. You can also add text stickers, or emojis in the field to make your carousel post more engaging.
Step 3: Schedule Your Instagram Post
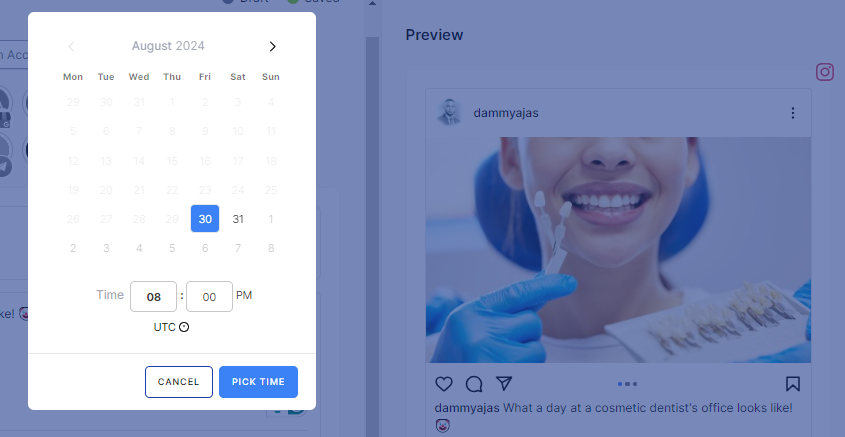
Once your post is ready, scroll down and click on ‘Pick Time.’ A scheduling box will appear, allowing you to set the exact date and time you want your carousel post to be published.
After selecting the desired time, simply click the ‘Schedule’ button at the bottom of the screen.
And there you have it! Your Instagram carousel is now scheduled, giving you the peace of mind to focus on other aspects of your social media strategy.
Can You Make Changes to a Scheduled Instagram Carousel?
Fortunately, the answer is yes. Even after scheduling your carousel post, you realized you need to make changes before it goes live, you can still edit the post.
OnlySocial makes it possible for users to edit their scheduled posts to make sure their posts look just like they would want them when they are published.
However, this is only possible if the post has not already been published. Now, let’s see the steps you should follow to edit your scheduled posts:
- Log into your OnlySocial account and click on ‘Posts’ on the sidebar to see all your scheduled posts.
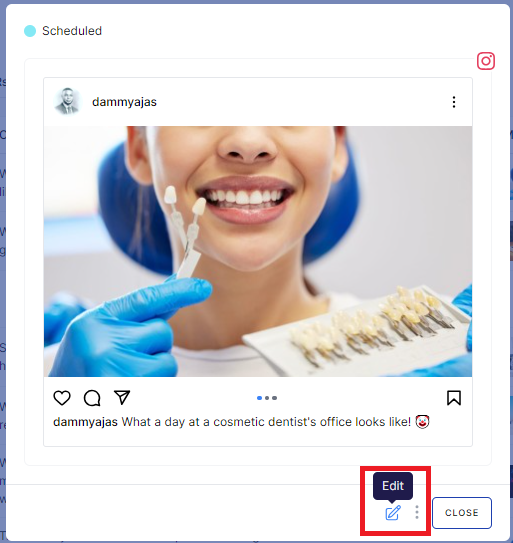
- Find the post you want to edit and click on it. This will bring up a preview of the post.
- At the bottom of the preview is a ‘Pencil icon.’ Click on it to enter edit mode where you can make necessary changes to your toot.
- Once you are satisfied, click on ‘Schedule’ again to update the post. Your changes will be saved, and the toot will be published at the time you’ve chosen.
But Why Schedule Instagram Carousels?
If you are wondering why you even need to schedule your carousels in the first place, you are not alone. So, let’s quickly show you some of the perks it brings to the table.
First, it helps you maintain consistency. With scheduling, you can ensure your content is shared when your audience is most active, even if you’re busy.
This keeps your brand fresh in the minds of your followers, driving more engagement and visibility.
Apart from that, scheduling also gives you the freedom to plan and perfect your content in advance. You can create and schedule multiple posts in one sitting, saving time and reducing stress.
So, it’s all about working smarter, not harder, to keep your Instagram game strong.
Tips to Make Your Carousel Posts More Engaging
Crafting an Instagram carousel post that truly engages your audience calls for a mix of creativity, relevance, and visual appeal.
So, it’s not enough to know how to schedule Instagram carousel; you need to know how to make the most out of it. And that starts from knowing how to create carousels that truly engage.
Here are some tips to help you:
#1: Use Captivating Captions
Your captions are the first thing people read, so make them count! Keep them short, sweet, and packed with personality. A great caption can turn a simple scroll into a meaningful interaction.
#2: Utilize High-Quality Images and Videos
This might seem obvious, but it’s worth repeating. Instagram is all about the visuals, so make sure your images and videos are crisp, vibrant, and eye-catching. Quality content is key to capturing attention.
#3: Include a Call to Action
Don’t leave your followers hanging – tell them what to do next! Whether it’s “swipe left for more,” “double-tap if you agree,” or “click the link in bio,” a clear call to action encourages engagement and helps drive results.
#4: Tell a Story
Think of your carousel as a mini-narrative. Use each slide to build on the previous one, creating a compelling story that draws viewers in and keeps them swiping.
#5: Mix It Up with Variety
Keep things interesting by mixing different types of content. Combine images, videos, text slides, and even polls or quizzes. Variety not only captures attention but also keeps your audience engaged from start to finish.
#6: Make Use of Carousel Features
Instagram offers tools like stickers, filters, and text overlays – use them!
These features can add a fun, interactive element to your carousel, making your post stand out in the feed.
#7: Leverage User-Generated Content
Showcase content created by your followers. Not only does this build community, but it also adds authenticity to your posts. It makes them more relatable and shareable.
Questions from Instagram Users
How do I schedule a carousel post?
To schedule a carousel post, you can use Instagram’s native scheduling feature through the Instagram app or Meta Business Suite.
Alternatively, you can use a third-party tool like OnlySocial, which offers more flexibility and ease of use. Simply connect your Instagram account, create your carousel post, and set the desired date and time for it to be published.
How do you create a posting schedule?
Creating a posting schedule involves determining the best times for your audience to engage with your content. Use insights from Instagram Analytics or OnlySocial to identify peak engagement times.
Plan your content in advance, considering the type of post and its relevance to your audience, and schedule them accordingly to maintain consistency.
Can you auto-post carousels on Instagram?
Yes, with scheduling tools like OnlySocial, you can auto-post carousels on Instagram. Once you’ve created and scheduled your carousel post, the tool will automatically publish it at the scheduled time without any further action needed from you.
Why can’t I schedule posts on Instagram?
If you’re unable to schedule posts on Instagram, it might be due to several reasons: your account might not be set up as a business or creator account, you might not be using the right tools, or there could be issues with the app or platform you’re using.
What other things can I do with OnlySocial?
OnlySocial offers a range of features beyond scheduling Instagram carousels. You can manage multiple social media accounts, schedule posts across different platforms simultaneously, track performance with detailed analytics, and bulk schedule posts to save time. It’s a comprehensive tool for social media management.
When is the best time to post carousels on Instagram?
This depends on your audience’s activity patterns. Generally, the most effective times are during weekdays in the morning and evening when users are more likely to be active.
Can scheduling Instagram carousels affect its views?
Scheduling Instagram carousels does not directly affect their views. However, posting at optimal times can increase engagement and visibility.
By scheduling your carousels to go live when your audience is most active, you can maximize the chances of your posts being seen and interacted with.
Final Note
Without any doubt, scheduling your Instagram carousel posts can be a game-changer. It can help you maintain consistency, engage your audience at the right times, and free up valuable time for other tasks.
Now that you know how to do it, make the most of this feature to elevate your Instagram strategy and keep your content fresh and engaging.
Start scheduling your carousels today and watch your social media presence grow effortlessly!
